Every user inside of WordPress has a ‘WordPress User Bio’ section profile. This section may be hidden when using some WordPress themes, but for the most part it should be there.
But why?
Well, in the ‘olden days’ when WordPress was the go-to ‘blogging’ platform, every post was from an author and that author had a bio photo to go along with a bio description. Today, WordPress is less of a blogging platform than it is a content management platform / business website platform / ecommerce website platform and you may find yourself having to interact with the WordPress User Bio for the first time.
Perhaps you are creating a blog template and want to reference the author and include a standardized bio?
Perhaps you have a blog template you inherited and you’re trying to delete or change a user bio but aren’t sure where to find it.
Whatever the case, updating is easy.
Step 1: Login to Your WordPress Site and Go to Users
Log in to your WordPress site and from the left side of the screen find the Users option in the menu.
Click on Users.
Step 2: Find the User You Want to Update the WordPress Bio For
You can scroll or you can use the search option on the User page, either way, find the account you want to update the bio for.
Once you locate the account, click Edit.
Step 3: Scroll Down to Biographical Info
Administrators will have this field available. Depending on your WordPress configuration, there may be some permission levels that do not have access to this. If you do not see this info, first start by adjusting your permissions. If, after you’ve received the highest level of permissions possible (Administrator), you still do not have this field, there is a chance that a plugin or the theme you are using is hiding this field and you’ll need to explore further.
Locate the Biographical Info section under the About the User section and in that field you’ll find either no bio or whatever current bio has been set.
This field by default is a plan text field, meaning, no styling you paste into the field will be retained, however, you can use simple html to add styling as well as hyperlinks.
Step 4: Add Styling and Hyperlinks
If you want to add simple styling, you can use basic html.
<b>Put text you want to be bold between the b code.</b>
<em>Put text you want to be italicized between the em code.</em>
If you want to add a hyperlink use the following code.
<a href="https://google.com">Clickable text goes here</a>If you want to open the hyperlink in a new window use this code.
<a href="https://google.com/" target="_blank">Clickable text goes here</a>If you want more options, do a simple Google search for exactly what type of formatting you want and you should be able to find the correct snippet.
Step 5: Publish and Test (Clear Cache, Too)
Once you’ve made your edits, it is important to verify the changes on the front end. Navigate to a blog post by that author or any other location where you know the Biographical Info is displayed and verify your changes are there.
If you know you saved your changes, but the old information still appears you will want to clear the cache from whatever caching service or plugin you’re using.
Changing the WordPress Author Profile Image
If you would like to change the Author Profile Image you can do that too. By default, the author’s email in the user account will need to be tied to a Gravatar.com account.
Perhaps an image is already showing and you can’t figure out where that image is being pulled from. Chances are it’s Gravatar.
Have the user associated with the email account log into Gravatar and update their settings from within the Gravatar service.
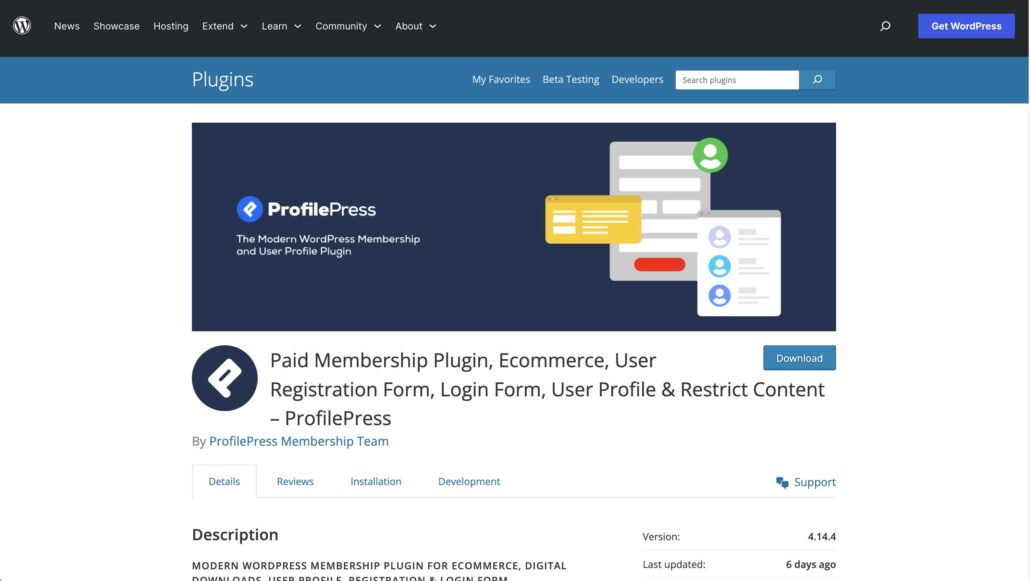
If you’d prefer to overwrite the image and not fiddle with Gravatar, I recommend the free Profile Press Plugin available in the WordPress Plugin Director.

Troubleshooting and Obstacles
If you’re running into problems locating the fields discussed or making changes, there is a chance something within your Worpdress install isn’t functioning properly.
When I run into WordPress issues between plugins and themes, here is how I handle those issues (often on a staging site):
- Update all plugins to most recent version
- Update WordPress to the most recent version (unless the latest version is a major update number)
- Update my theme to the most recent version
- Clear my website cache
- Clear my server cache
- Contact my host to see if there are any errors being reported
- Create a staging site and start disabling plugins and then trying to reproduce the errors
This is a general approach. I am very familiar with the plugins I use and the update cycles (as well as potential conflicts) they go through.
But it’s a great list of where to start.
Customizing Worpdress
I love WordPress because everything can be customized with enough information and the right combination of knowledge and plugins (though, you don’t want to install a plugin for every little thing… this will really slow down your site).
Formatting the author bio information and photo is just a small example of the ease of use in WordPress and I hope this tutorial has been helpful for you dialing in the look you want for your website!


